
The 2026 search for the best UV resin often comes down to one practical question: how can you Cure Uv Resin quickly without leaving a soft or tacky center? A bright lamp helps, but it is not the whole answer. Resin formula, lamp wavelength, layer thickness, pigments, and the distance between the lamp and the piece can all affect curing. A clear pendant may harden faster than a deep mold filled with dark, glittery resin. Small details matter.
Fast is not always fully cured. A surface can feel firm while resin underneath remains soft. For more reliable results, check the resin maker’s recommended lamp type and exposure time. Cure thin layers when possible, rotate the piece, and inspect the underside and edges. Keep the lamp close enough for even light, but follow product directions. Wear the protective gear specified by the manufacturer, and work with good ventilation.
A named expert quotation should not be invented. No verifiable expert source or article was provided, so this introduction avoids attributing a made-up statement to a real person. That matters for a guide readers may rely on. The advice here is a starting point, not a universal cure schedule; different resins behave differently. A simple test piece can reveal uneven curing before you commit to a detailed project. Tiny test first. Then adjust one variable at a time.
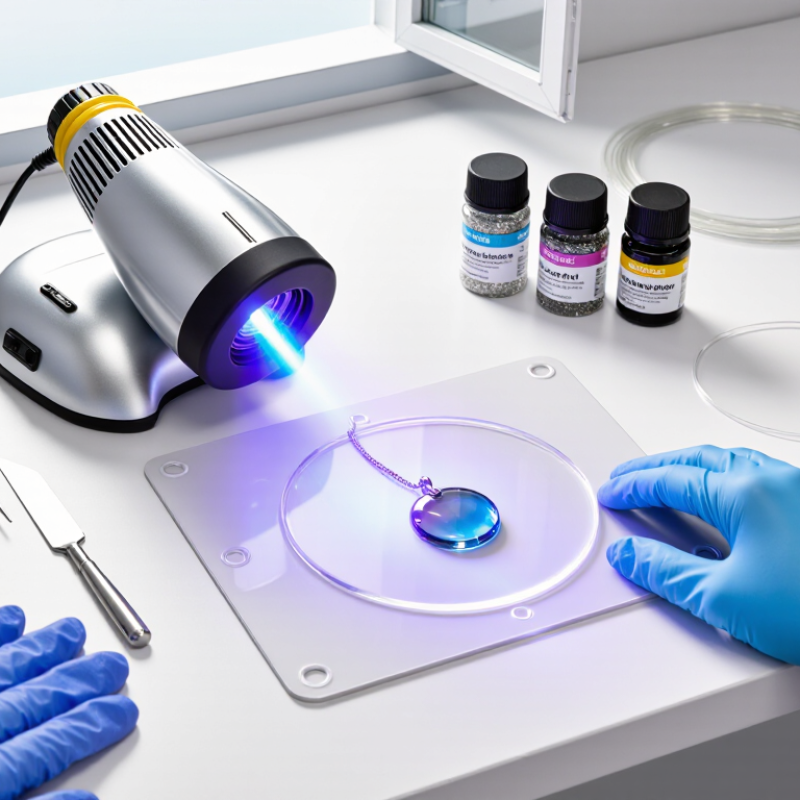
UV Resin & Light
UV resin is a liquid photopolymer: light activates a photoinitiator, which starts molecules linking into a solid network. The wavelength must match the resin’s photoinitiator; a bright lamp alone cannot guarantee a fast, complete cure. The International Commission on Illumination’s CIE S 017:2020 defines UVA as 315–400 nanometres. That range helps explain why some 365 nm lamps work well, while a 405 nm lamp may suit only formulations designed for it. Check the resin’s stated wavelength, not just the lamp’s advertised power.
Cure speed also depends on light intensity at the surface, exposure time, resin colour, and layer thickness. A clear, thin layer may harden quickly; a dark or deep pour can block light before it reaches the bottom. Keep the lamp close, rotate the piece, and test a small sample. A tacky surface can signal incomplete curing, though oxygen exposure and the resin formula also matter. It is easy to mistake a hard shell for a fully cured object. More light is not always better; excess heat can distort delicate details. CIE’s wavelength ranges are useful reference data, but the resin maker’s curing instructions should guide the actual setup.
Choosing the best UV resin in 2026 starts with the shape of your project, not the cure-time claim on the bottle. Thin, watery resin can flow into tiny settings and coat flat surfaces evenly. Thicker resin stays put on raised details, but may trap bubbles. For a small pendant, clarity and low shrinkage matter; for a textured charm, control may matter more. Small differences show.
Check that the resin’s recommended wavelength matches your UV lamp. A powerful lamp cannot fix a mismatch, and thick pours may cure only at the surface. For deeper pieces, apply several thin layers and inspect each one before adding the next. A tacky underside can mean the light did not reach it, or the surface needs more exposure. Test a drop first.
Look for clear curing instructions, storage guidance, and information about yellowing over time. These details are more useful than a promise of instant results. Wear gloves, protect your eyes, and work with good ventilation, following the product’s safety directions. Keep uncured resin off your skin. I have found that a quick test on a scrap piece saves material, though it adds one more step. That small delay is usually worth it.
| Project or Use | UV Resin Features to Look For | Light and Setup | Curing Guidance | Tips for Faster, More Reliable Curing |
|---|---|---|---|---|
| Jewelry and small charms | Clear, low-viscosity resin suited to shallow molds and small details. | Use a UV lamp whose wavelength range matches the resin instructions; many UV-curable craft resins specify a lamp in the 365–405 nm range. | Cure in thin pours and follow the stated exposure time. Actual time depends on lamp output, distance, resin formulation, and mold shape. | Keep the lamp close at the recommended distance, rotate the piece if needed, and cure both sides when the mold or design blocks light. |
| Domed coatings and decals | A self-leveling formula designed for surface coating and compatible substrates. | A lamp with suitable wavelength and enough coverage for the full coated area. | Apply a thin, even coat. Cure according to the product directions; a tacky surface can result from insufficient exposure or from a formula that needs a final finishing step. | Remove dust before curing and avoid thick pools. Check the surface after the recommended exposure rather than assuming one fixed time works for every resin. |
| Miniatures and intricate details | A formula with flow suited to fine features; check that the resin is intended for the chosen mold or application. | Use a light source that can reach recessed details; repositioning may be necessary. | Build up the piece in thin layers when the design is deep or light cannot penetrate evenly. Cure each layer as directed. | Tilt or rotate the piece between exposures to illuminate shaded areas. Do not rely on a longer exposure alone when parts of the object are blocked from light. |
| Colored or glitter-filled pieces | A resin explicitly suitable for colorants or inclusions; opaque pigments and dense glitter can obstruct UV light. | Use the specified UV lamp, and account for reduced light penetration through colored or filled material. | Keep layers shallow and cure in stages. Deep or opaque sections may not cure reliably with UV exposure alone. | Use colorants sparingly and test a small sample first. For thick, opaque castings, choose a resin system specifically designed for that depth rather than trying to speed up UV curing. |
| Thicker castings | A product rated by its manufacturer for the intended casting depth; many craft UV resins are intended for thin applications. | UV light must reach the material throughout the section, which may not be possible in a thick or opaque casting. | Do not assume a longer surface exposure will cure the center. Follow the product's depth limits and curing instructions. | Use thin layers or select a casting resin designed for deeper pours. Verify the cure before handling or enclosing the piece. |
| Choosing a lamp | A resin with clearly stated wavelength and curing instructions. | Match the lamp wavelength to the resin's specified range. A higher wattage label alone does not guarantee a faster or complete cure. | Use the distance, exposure duration, and lamp configuration recommended for the resin. | Keep the lamp clean, replace or maintain it as instructed, and position the work so the light reaches all exposed surfaces. |
Safety note: Follow the resin label and safety data sheet. Wear suitable protective gloves and eye protection, work with good ventilation, and avoid skin contact. Keep uncured resin away from children, pets, and food-contact surfaces. Cure times are product- and setup-dependent; always follow the manufacturer's instructions.
Preparing resin well can save more time than choosing a stronger lamp. Work on a level, covered surface, and keep the bottle and tools clean and dry. Check the resin instructions for its curing wavelength and handling guidance; formulations vary. Wear nitrile gloves and eye protection, and keep the room ventilated. Small details matter.
Use a clean silicone cup or disposable mixing tool if your resin requires mixing. Stir slowly to limit bubbles, and avoid adding color until you know how it affects curing. Dark pigments and thick layers can block UV light. Pour a thin layer instead. Not glamorous, but reliable.
Choose a UV light source that matches the resin’s stated wavelength, then check its distance and exposure guidance. A small test piece can show whether the light reaches the whole surface. Rotate the piece if shadows fall across it.
I would not trust a surface that merely looks dry; tackiness may remain in less-exposed areas. My own process would still need adjustment for an unusually deep mold.
Start with a clean, dry piece and a thin layer of UV resin. Thick pours can cure unevenly, leaving a soft center beneath a firm surface.
Work in a ventilated area, and wear suitable gloves and eye protection. Check the resin label for its required light wavelength and curing guidance; not every lamp works with every formula. Keep the lamp at the recommended distance. Too far away, and the light may not reach evenly.
Expose the piece for the suggested time, then rotate or reposition it so the edges receive light too. For a deeper design, cure in thin layers rather than trying to harden everything at once.
Small details matter. After each exposure, inspect the surface and underside for sticky spots or cloudy areas. If needed, give those areas another short exposure, following the product directions. Avoid touching uncured resin with bare skin.
A surface that feels firm does not always mean the entire piece has cured. I would not rush by guessing at longer exposure times; heat and material thickness can affect the result.
A small test piece can reveal whether your setup cures evenly before you begin a detailed project.
When UV resin stays tacky, adding more exposure is not always the fix. I used to blame the lamp first, but layer thickness and resin color can matter just as much. Deep pours block light from reaching the bottom, while dark or heavily pigmented resin may need longer exposure. Thin layers help. A dusty lamp cover or a piece placed too far from the light can also reduce curing. Not every lamp works.
Tips: Check that your lamp’s wavelength matches the resin instructions, and keep the piece close to the light without touching the bulbs. Cure a small test drop before starting a detailed project. If the surface remains sticky, rotate the piece and give it short additional exposures. Avoid piling on resin to hide a soft spot; that can trap uncured material underneath.
Temperature is easy to overlook. Cold resin often flows slowly and may cure less predictably, so let the sealed container reach room temperature before use. Keep the work area clean, and avoid touching uncured resin with bare skin. Follow the product’s safety directions, including eye protection. Sometimes the result still feels uneven. Recheck the thickness and lamp setup before changing several things at once; otherwise, it is hard to know what actually helped.