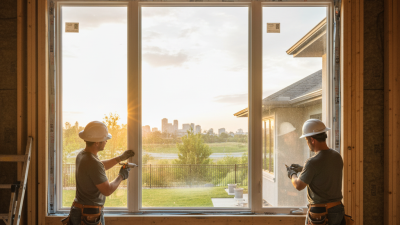
How to Install Windows and Doors Step by Step?
Installing a window or door is not just a matter of fitting a frame into an opening. A dependable result starts with checking the rough opening, confirming measurements, and reviewing the manufacturer’s instructions. The sill should be level, the frame square, and the unit supported without forcing it into place. Small errors matter. A gap at one corner can invite drafts or water; a poorly sealed sill may stay hidden until damage appears. Measure twice.
Canadian contractor and renovation expert Mike Holmes is known for the advice, “Make it right.” That principle suits windows and doors installation: careful preparation is often less visible than the finished trim, but it protects the result. This guide will walk through the work step by step, from removing an old unit and preparing the opening to setting, fastening, insulating, and sealing the new one. It will also explain what to check before calling the job done, including smooth operation and consistent reveals. Details vary by product and building, so follow the manufacturer’s directions and seek qualified help when the opening shows rot, movement, or other damage. No shortcut fixes a bad opening. Even experienced DIYers can miss something; pausing to recheck alignment is wiser than pretending every install goes perfectly.
Prepare the Tools, Materials, and Rough Opening
Before installing a window or door, gather a tape measure, level, framing square, drill, shims, utility knife, and appropriate fasteners. Wear eye protection and gloves when cutting or handling materials. Keep the opening dry. Read the unit’s installation instructions before changing the framing; required clearances and fastening points vary by product.
Measure the rough opening’s width and height at several points, then check both diagonals for squareness. Compare the smallest measurements with the unit’s specified opening size, not a general rule of thumb. Measurements can drift. If two readings disagree, measure again rather than averaging them. Note the sill height and wall thickness, too, since trim and flashing depend on them.
Remove loose debris and protruding nails, then inspect the framing for rot, cracks, or movement. Repair damaged areas before setting the unit. Check that the sill is level and the sides are plumb; use a straightedge if the framing looks uneven. Lay out shims, flashing, and sealant within reach, and keep the manufacturer’s instructions nearby. A dry fit can reveal a tight corner or an unexpected gap before fasteners go in. Even careful notes can be wrong, so verify the opening once more before ordering or installing.
Remove the Existing Window or Door and Inspect the Opening
Before fitting a new unit, remove the trim carefully and expose the full frame. Score painted joints with a utility knife to limit splintering. Support heavy glass, wear eye protection, and remove fasteners rather than forcing the frame. Work slowly. Once the old window or door is out, check the sill, jambs, and header for soft wood, dark water stains, mold, or loose masonry. Probe suspicious timber gently with an awl; sound wood should resist it. I have learned that a neat-looking interior can hide a damp sill. It is easy to miss.
Measure the opening at several points, then check that the sides are plumb and the sill is level. Compare diagonal measurements to spot a racked frame, and record the smallest width and height for sizing. Do not cover damage with fresh sealant. Repair the cause of moisture first, and confirm the opening is dry and structurally sound before installation. This inspection also matters for energy performance: the U.S. Department of Energy’s Energy Saver guidance estimates that air leakage can account for 25% to 40% of heating and cooling energy use in a typical home. Gaps around a poorly prepared opening can undermine an otherwise careful installation. Take photos and note uneven spots. Imperfections deserve a second look.
Set, Level, and Secure the New Window or Door
Set the window or door into a clean, correctly sized opening, with a helper supporting its weight. Check that the sill is level before adding shims. Small gaps matter. Center the unit, then place shims near each fastening point. They should support the frame without pushing it out of shape. Keep the manufacturer’s installation instructions nearby; frame and fastener requirements can vary.
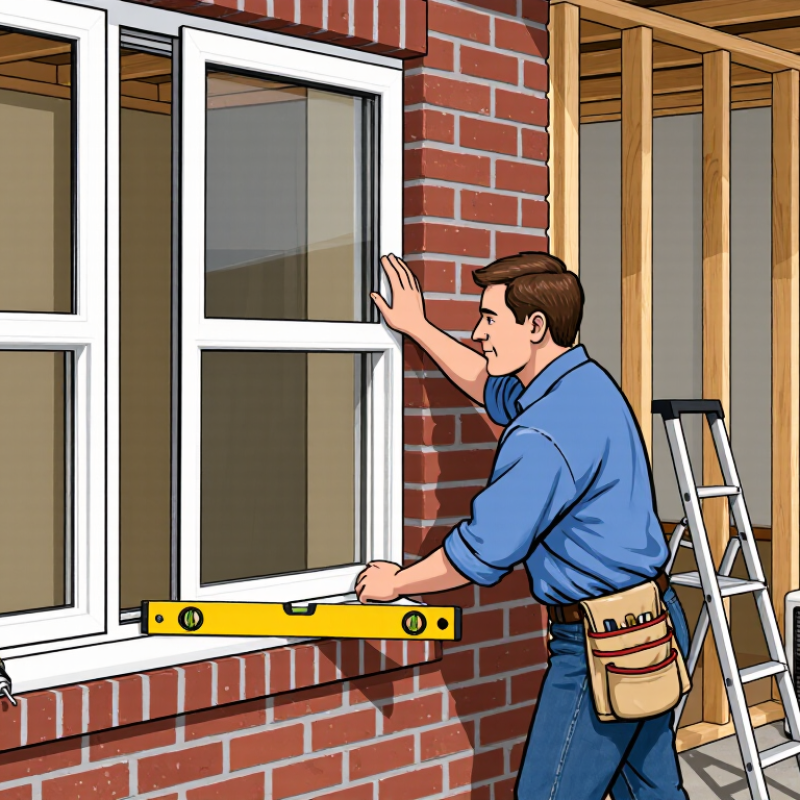
Use a level to check the sill, head, and both jambs. For a square check, compare the two diagonal measurements; they should be close. It is easy to trust the first reading, but a slight twist can make a sash stick or a door swing open by itself. Recheck after each adjustment. Drive fasteners snugly, not so tightly that they bend the frame. Test the window or door before finishing.
Once it operates smoothly, secure the remaining points as directed in the installation instructions. Fill the space around the frame with suitable insulation, without forcing it against the unit. At the exterior, install flashing and seal joints in the prescribed order so water can drain away. Take your time. A neat bead of sealant cannot correct a frame that is out of level.
Insulate and Seal the Frame to Prevent Air and Water Leaks
After the frame is fastened, check that it remains level, plumb, and square. Then inspect the gap along all four sides. Even a thin opening can let in cold air or wind-driven rain. Wipe away dust and loose mortar so foam and sealant can bond properly. A clean, dry surface matters.
Fill the space with low-expansion foam made for windows and doors. Apply it in a controlled bead, not one large, forceful burst; expanding foam can bow a frame and make a sash stick. Leave room for the product to expand and follow its curing instructions. It is tempting to fill every visible gap at once. Resist that urge. Check the frame again after the foam sets, and trim excess without cutting into the joint.
At the exterior, use a compatible sealant where the frame meets the wall. For a wider gap, a correctly sized backer rod can support the sealant and help it flex. Keep drainage paths and weep openings clear. Insulation is not a substitute for proper flashing or a sill pan, which help direct water outward. A missed corner is easy to overlook, so inspect the perimeter in daylight and feel for drafts on a breezy day. If the wall opening is damaged or unusually large, pause and get qualified guidance before covering it.
Install Trim and Test the Window or Door for Proper Operation
After the frame is secured, check that the sash or door panel moves freely before installing trim. Open and close it several times. Look for rubbing, uneven gaps, or a latch that needs force. A level and a thin shim can help reveal a frame that has shifted. One thing worth remembering: trim can hide a poor fit, but it cannot fix one.
Fit the casing evenly, leaving the manufacturer’s required clearance around moving parts. Keep fasteners out of tracks and hinges, and avoid crushing the weatherstripping. Recheck operation after each side of the trim is attached; fastening can pull a frame out of square. The U.S. Department of Energy’s Energy Saver guidance estimates that heat gain and loss through windows account for 25–30% of residential heating and cooling energy use. A careful final check helps preserve a tight seal as well as smooth operation.
Tips: Close the unit and inspect the perimeter in daylight. Check that the latch engages without lifting or pushing the panel. If movement changes after trim installation, pause and inspect the frame alignment before caulking. It is easy to miss a slight bind when rushing. Recheck it tomorrow, too.
How to Install Windows and Doors: Final Trim and Operation Checks
Use these common reference dimensions when fitting trim and testing a newly installed window or door. Confirm requirements with the applicable local building code before finalizing the installation.
After installing the trim, verify that reveals are even, the frame remains square, the door or window opens and closes smoothly, locks correctly, and does not rub against the trim. Reference values shown are based on common U.S. accessibility and emergency-egress requirements: ADA 2010 Sections 404.2.3 and 404.2.5, and IRC Section R310.