How to Replace Windows in a House 7 Expert Tips?
Replacing old windows is not merely a cosmetic upgrade. It affects comfort, energy bills, moisture control, and household safety. The U.S. Department of Energy reports that windows can account for approximately 25%–30% of residential heating and cooling energy use. That figure makes replace windows in house projects worth careful planning, especially in rooms with cold glass, faded seals, or visible drafts.
The National Fenestration Rating Council explains that U-factor measures heat transfer, while Solar Heat Gain Coefficient measures how much solar heat enters a home. These ratings matter more than attractive frames alone. Building-science expert Joseph Lstiburek has often used a blunt reminder: “Windows are holes in walls.” The phrase sounds simple. It is also easy to forget. A poorly installed high-performance window can still leak air around the frame.
This guide, “How to Replace Windows in a House: 7 Expert Tips,” focuses on decisions homeowners can actually inspect. It covers accurate measuring, suitable frame materials, glass coatings, flashing, insulation, ventilation, and final testing. ENERGY STAR also recommends selecting certified products suited to the local climate zone, rather than choosing the same window everywhere. That advice deserves attention. A sunny south-facing window may need different glass from a shaded bedroom window.
Small errors become expensive.
Do not assume replacement always improves performance. Existing openings may contain hidden rot, trapped moisture, or structural movement. A thoughtful inspection should come before ordering. The best result is not simply a new window; it is a dry, quiet, properly sealed opening that performs reliably for years.
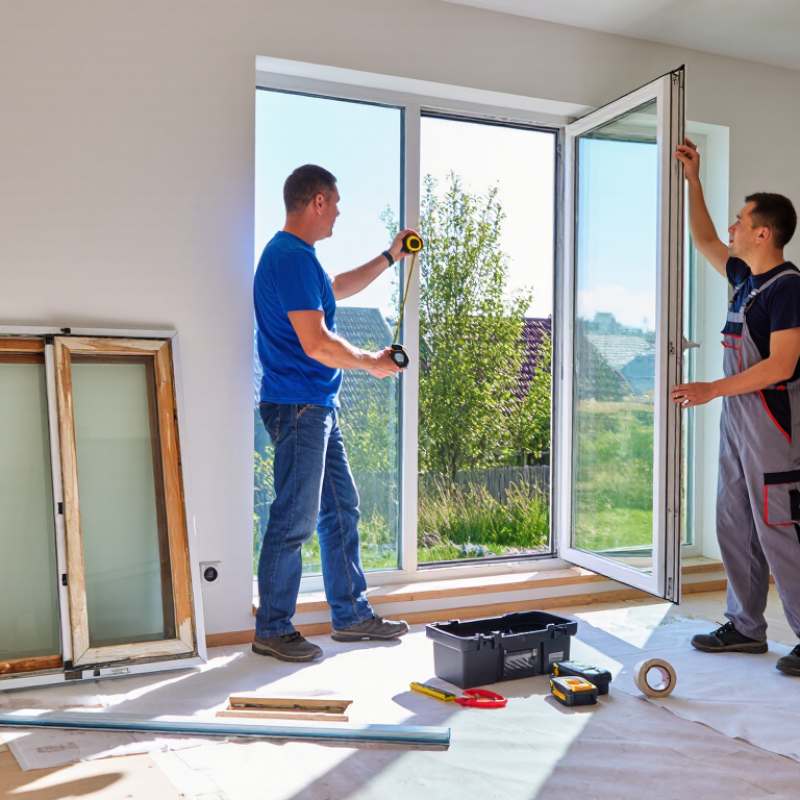
Assess Whether Your Windows Need Full Replacement
Before replacing every window, inspect the frame, sash, glass, and surrounding wall.
Look for soft wood, peeling paint, water stains, or daylight around the trim.
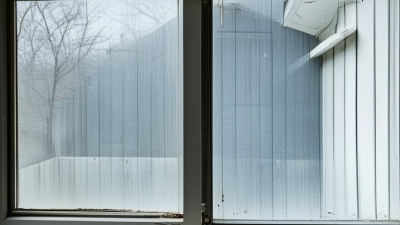
Persistent fog between double panes usually means the seal has failed. Difficult operation can also indicate warping, not merely an old handle.
The U.S. Department of Energy estimates that windows can cause 25–30% of residential heating and cooling energy use.
That figure does not automatically justify full replacement. Measure drafts with a smoke pencil on a windy day. Compare winter heating bills across similar seasons. Check whether attic insulation, duct leakage, or poor weatherstripping causes the larger loss.
A full replacement makes stronger sense when the frame is damaged, leaks continue after repairs, or several windows perform poorly.
Use a qualified inspection before ordering.
The National Fenestration Rating Council explains that lower U-factor values reduce heat transfer, while solar heat gain ratings affect cooling and winter sunlight. Select ratings for the local climate, room direction, and shading. The 2021 American Housing Survey also shows that many homes are older, so hidden wall damage deserves attention during removal.
I have seen homeowners blame the glass when the real problem was failed flashing. A quick check can mislead. Record photos, measurements, and moisture readings before deciding.
Choose the Right Replacement Windows and Materials
Replacing windows starts with matching performance to climate, not choosing the prettiest frame.
The U.S. Department of Energy’s Energy Saver guidance reports that windows can cause 25–30% of residential heating and cooling energy use. That makes glass selection practical. Look for low-emissivity coatings and insulated glazing. Choose a U-factor suited to your climate. Lower U-factor means better insulation. SHGC matters in sunny rooms. A lower value can reduce summer heat but limit useful winter warmth.
Frame material affects durability, maintenance, and thermal performance.
Vinyl usually needs little painting, while fiberglass resists movement during temperature changes. Wood offers warmth and repairability, but exposed surfaces need regular protection. Aluminum is strong, yet it conducts heat without a thermal break. The National Fenestration Rating Council explains that whole-window ratings include the glass, frame, and spacer. Do not compare glass-only numbers. Ask for the complete rating label.
Installation can undermine expensive materials.
The window must sit square, with a continuous air seal and properly sloped sill flashing. Department of Energy field guidance identifies air leakage as a major comfort and efficiency concern. Measure each opening twice. Check drainage paths. I would also question oversized savings claims; results depend on weather, shading, occupancy, and workmanship. A cheaper frame may win today. Poor sealing becomes tomorrow’s draft.
Measure Existing Window Openings Accurately
Replacing windows begins with a measurement, not a shopping list. The U.S. Department of Energy estimates that windows account for about 25–30% of residential heating and cooling energy use. A poorly measured opening can reduce comfort, increase air leakage, and create expensive fitting problems.
Measure the existing opening in three places: top, middle, and bottom. Record the smallest width. Then measure height at the left, center, and right sides, using the smallest result again. Keep the tape level and straight.
Measure from the rough opening, not only the visible sash. Check the opening diagonally as well. Unequal diagonal measurements may reveal a square problem.
Write every result down immediately. Include the wall depth, frame condition, and any damaged sill material. ASTM E2112 provides recognized guidance for exterior window installation, including preparation and water-management details. I often recheck measurements after removing interior trim. The opening can change. That detail is easy to miss.
Leave the manufacturer’s required installation tolerance, rather than guessing from memory. A common mistake is ordering from the largest measurement. That can force the replacement unit into place and leave little room for shimming or insulation. ENERGY STAR guidance also connects proper installation with improved energy performance. Numbers matter, but the opening’s condition matters too.
Remove Old Windows Without Damaging the Wall
Removing an old window without damaging the wall requires patience, not force. I begin by covering the floor and checking the interior trim for hidden nails. A utility knife cuts through paint along every joint. This prevents the trim from pulling away plaster or drywall.
I remove the sash and glass carefully, keeping the opening supported. Then I locate screws, nails, or metal clips inside the frame. A compact pry bar works best when placed over a wood shim. Never twist it directly against the wall. Cut stubborn fasteners with a reciprocating tool, using short, controlled movements. Keep the blade away from electrical wires and plumbing. Wear gloves, eye protection, and a dust mask.
Go slowly here.
I once rushed this step and cracked a small section of plaster near the corner. The repair was minor, but avoidable. If old paint may contain hazardous material, stop and seek professional testing before disturbing it. After loosening the frame, score any remaining sealant with a sharp knife. Two people should lift the frame outward, especially when the opening is wide. Inspect the exposed rough opening for rot, moisture, or loose masonry. Photograph the condition before repairs. That record can reveal problems hidden by the old window. A clean opening makes the replacement easier and helps preserve the wall around it.
How to Replace Windows in a House: 7 Expert Tips
Removing an old window without damaging the wall depends on careful preparation, controlled cutting, and steady support. The chart shows a practical time allocation for the main removal and installation stages for one standard residential window.
Key takeaway: Most wall damage occurs during preparation and removal. Protect the interior, score painted joints, remove trim carefully, support the window before cutting fasteners, and inspect the rough opening before installing the replacement.